Navigation
Random Favorite Product
Hydraulic Press
Life is short. Buy this press. Dont build your own like I did Here
Advertisers
1968 Corvette
| Date Purchased | October 2008 |
| Purchase Price | $3,500 |
| Total Invested | $3,350 |
| Percentage Complete | 35% |
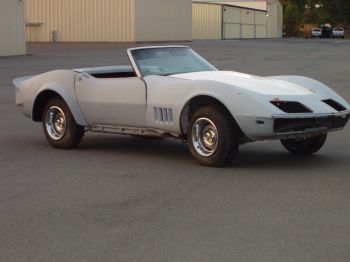
Follow the Corvette Restoration of a classic 1968 Stingray. This complete frame off restoration has been an on and off project for many years but is coming along nicely.
All articles are in order from oldest to newest. Click Here to jump to the bottom of the page.
Latest Updates
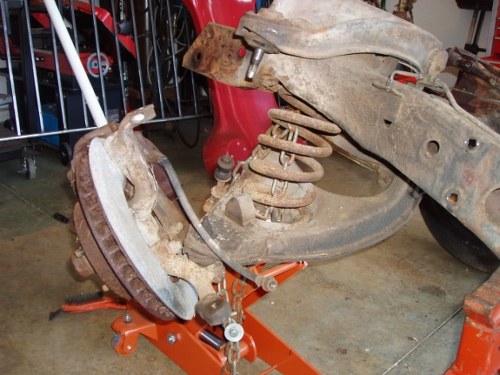
Front End Removal
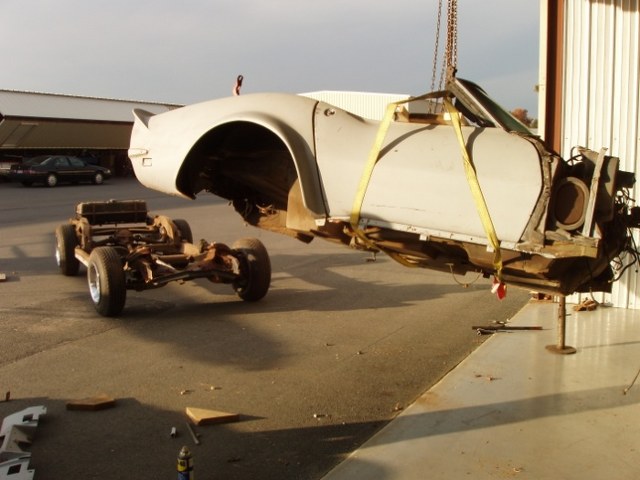
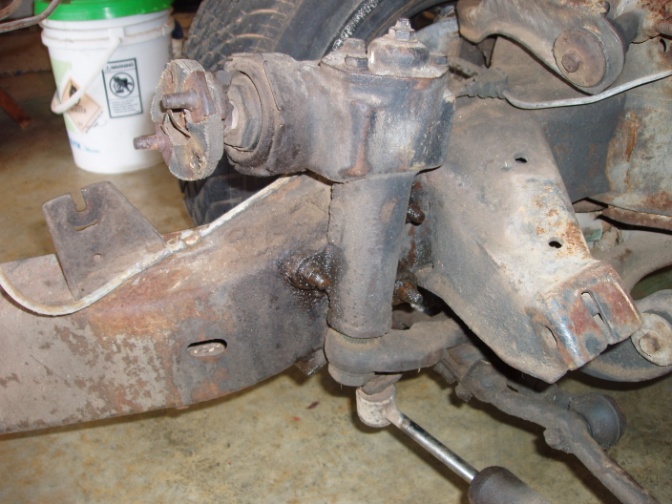
Removing the front end assembly from the frame including the control arms, spindels, coil springs, and more.
Frame Work and Improvements
Strengthen the frame of a 1968 Corvette. Includes instructions for adding support gussets, welding the frame, and supporting the cross member.
Sandblasting, Primer, and Paint
Sandblasting and painting the frame of a 1968 Corvette. Now that all improvements have been made to the frame, I can move on to getting it ready for painting.
Bushings and Control Arm Shaft
Installing the bushings into the top and bottom A-Arms. For this project, I had to modify a metal pipe and use a hydraulic press to make everything fit perfectly.
Front Suspension Assembly
Installing the control arms and coil springs on the front suspension assembly of a 1968 Corvette restoration.
Rear End Disassembly
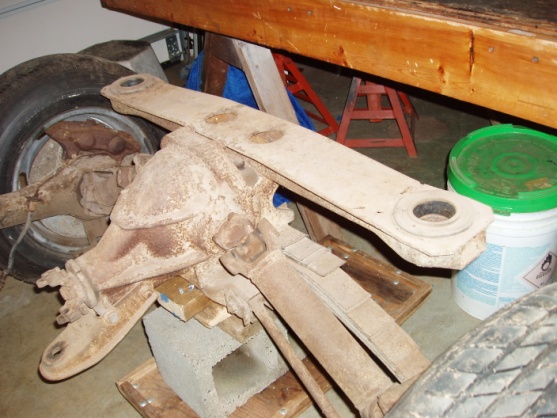
Disassembling and restoring the rear end including removing the differential cross member, leaf springs, half shafts, universal joints, strut rods, and bushings.
Strut Rod Repair
Half Shaft and Strut Rod Rebuild
Restoration of a 1968 Corvette half shafts and strut rod including installation of the universal joints using a hydraulic press. This article also covers installing bushings on the strut rods.
Differential Rebuild
The differential isn't terribly hard but, in my opinion, it was the most challenging part to rebuild on the rolling chassis and it takes a lot of thought before breaking it down.
Trailing Arm Rebuild
Now that the differential is completed, the only real obstacle left before having a rolling chassis is the trailing arm rebuild. This section covers the disassembly and rebuild of the trailing arms on a 1968 Corvette.
Gas Tank Replacement
Replacement of a 1968 C3 Corvette gas tank and sending unit. This article covers dissassembly of the old tank and prep of a brand new one.
Relay Rod Rebuild
Rebuilding the relay rod was a quick and easy project. The rebuild kit made everything simple but cleaning off the years of grime took some time.
Rotor Runout
After having the rotors turned, I used a micrometer to calculate the runout on the rotor. I also made my own shims using recycled aluminums cans.

