
Navigation
Random Favorite Product
Never Dull
Advertisers
1968 Corvette
Rear End Disassembly
Now that the frame is painted and the front suspension is completely assembled, I can put the half chassis in storage and focus my attention on the rear. This section is very heavy so disassembling it will make it much easier to move around.
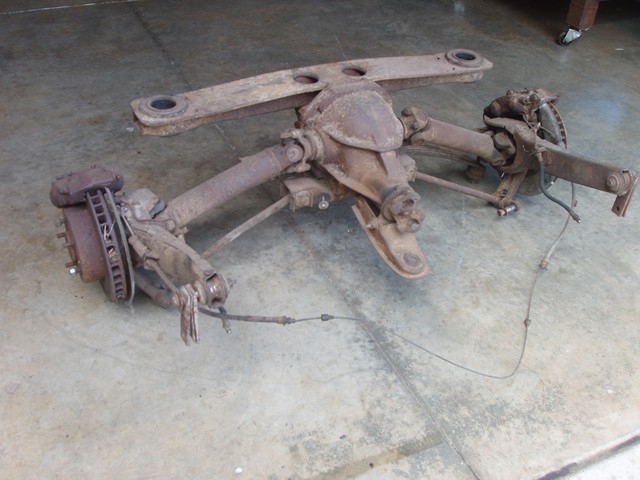
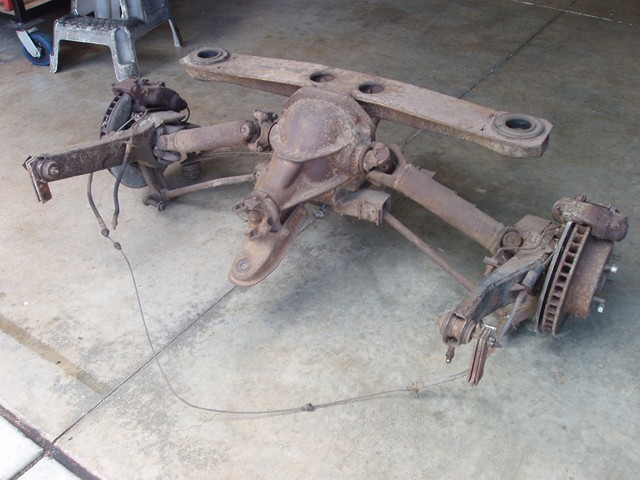

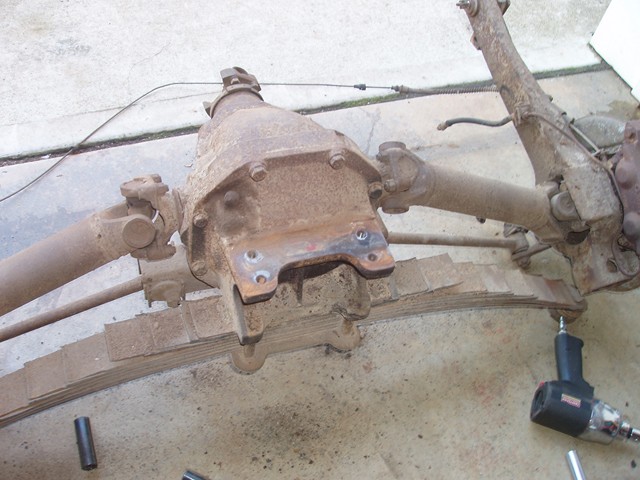
You can start in any order but I decided to remove the differential cross member first. Unfortunately, the bolts were badly weathered so I ended up using a torch and chisel to knock off the bolt's heads.
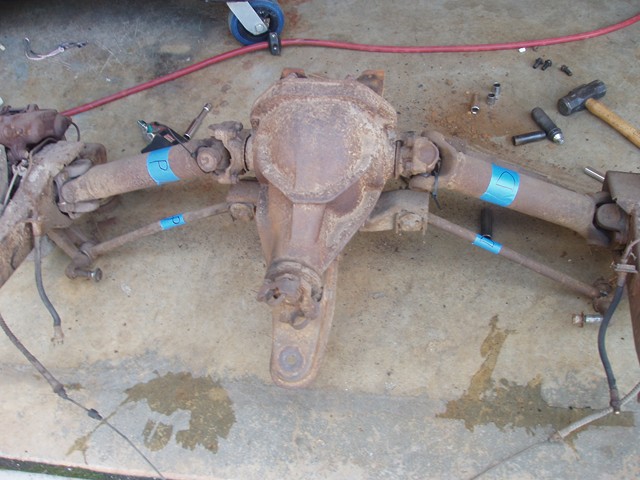
To prevent any of the parts from being flipped, I labeled them left and right. I later started using a punch to mark each side. Two punch marks for passenger side and one for driver. This way it will be easier to keep track through the sand blasting and painting portion.
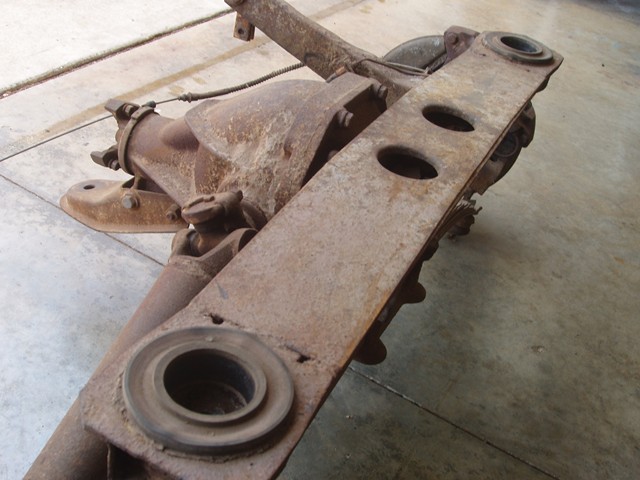
With the differential cross member removed, I moved on to removing the leaf spring which consists of the two bolts on the sides and four in the middle.
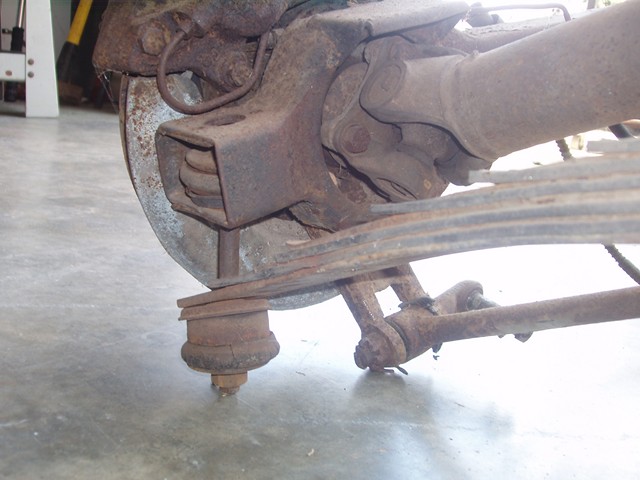
Next, I removed the half shafts and the strut rods. The half shafts had French locks on them so the tabs had to be bent back before removing the bolt.
When removing the rear shock lower mounts, be extra careful not to damage the threads. They run close to $45 apiece if replacements are needed. I believe they sell a tool that protects the threads but I ended up not using one.
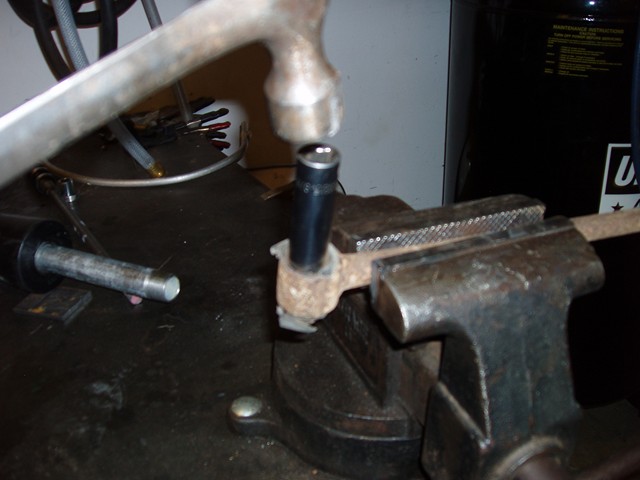
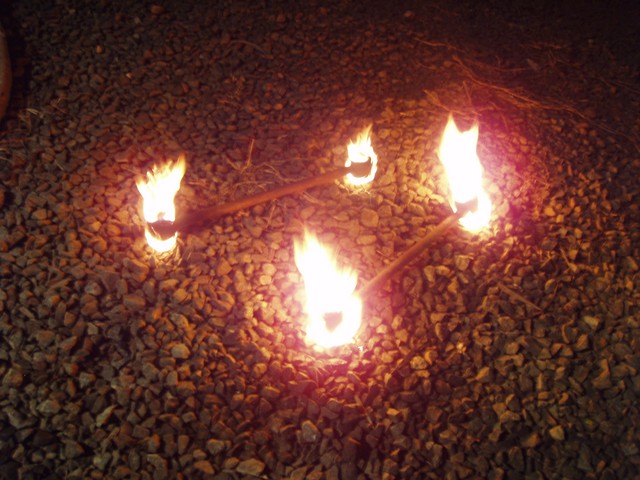
After removing a few more minor parts like the strut mount, calipers, and front differential mount, I started getting everything ready for sand blasting. I first started with removing the strut bushings. You can do this many different ways by using a hammer, hydraulic press, or a vise. These methods work fine, but to make sure that all rubber was completely removed, I lit it on fire.
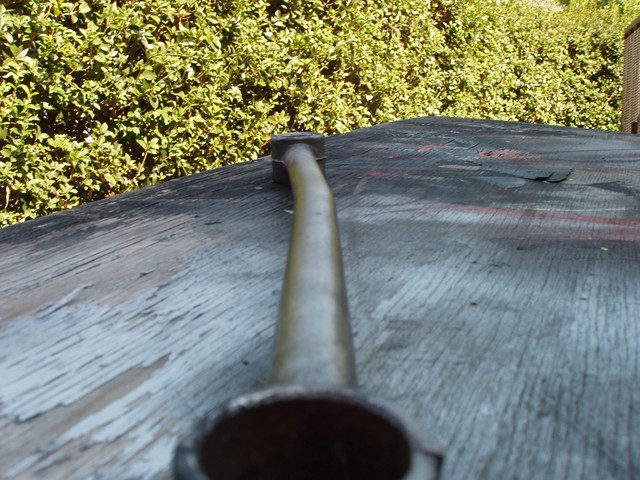
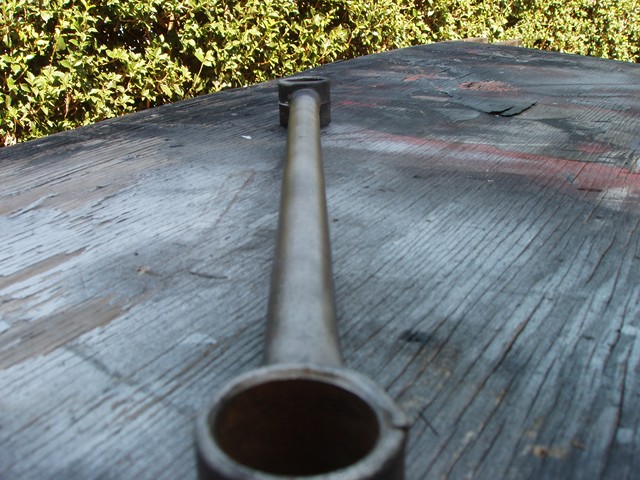
Generally when I look under a corvette that hasn't been restored, I notice that the strut rods are bent. It is just like the dent in the front cross member. Mechanics or previous owners will place the floor jack below the strut rods to lift the vehicle. Under the weight of the car, strut rod bends as seen below.
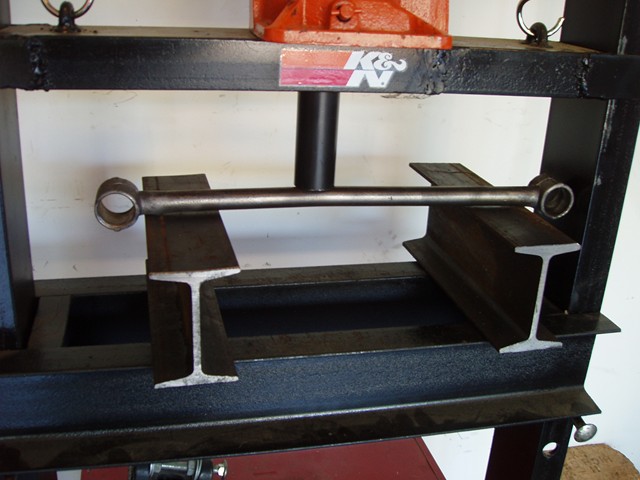
When this happens, you can either buy a stock replacement, aftermarket adjustable strut rod, or try to repair it yourself. Even though I have a pair of unbent 75 strut rods on hand, I wanted to stick with the originals so ended up bending this one back. By supporting both ends, I used the hydraulic press to add pressure to the bent section.
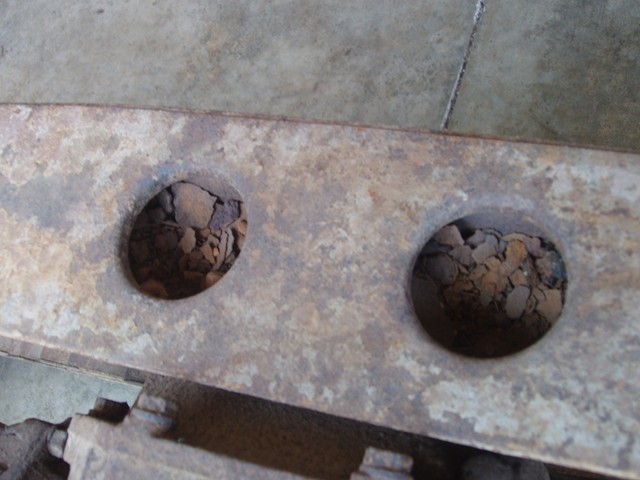
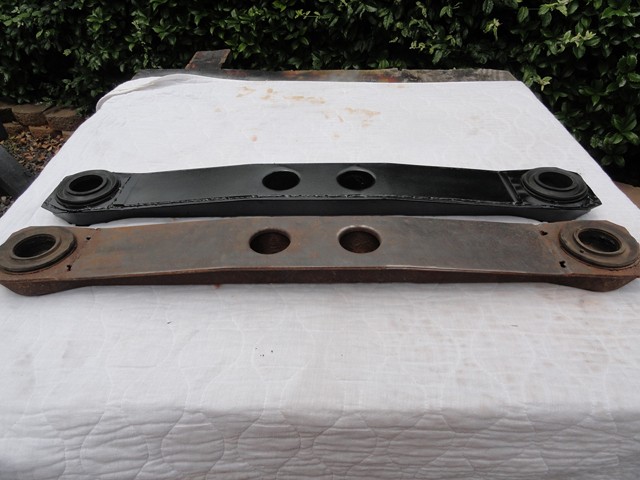
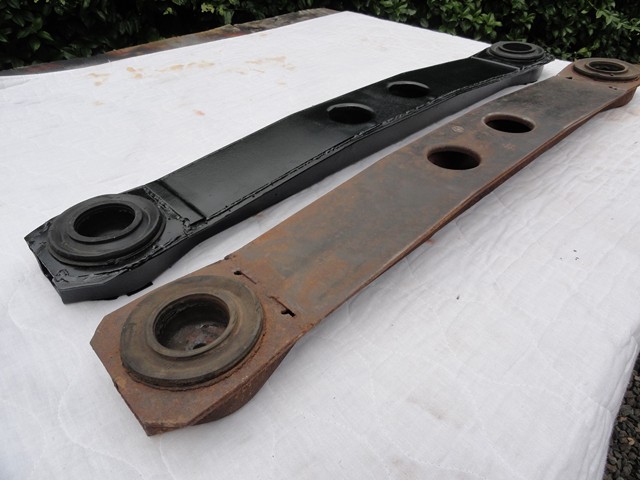
With the strut rod cleaned and ready for paint, I moved on to the differential cross member. After examining the cross member closely, I was very disappointed with the amount of rust that came out from the inside. Because of this, I decided to use the cross member off my 79 part's car which luckily had already been painted and had new bushings installed. Both are the same size and do not show any major differences so I decided to do the switch. Even though it is nicely painted, I will still clean it up and prep to paint it a satin black instead of glossy to match the rest of the chassis.
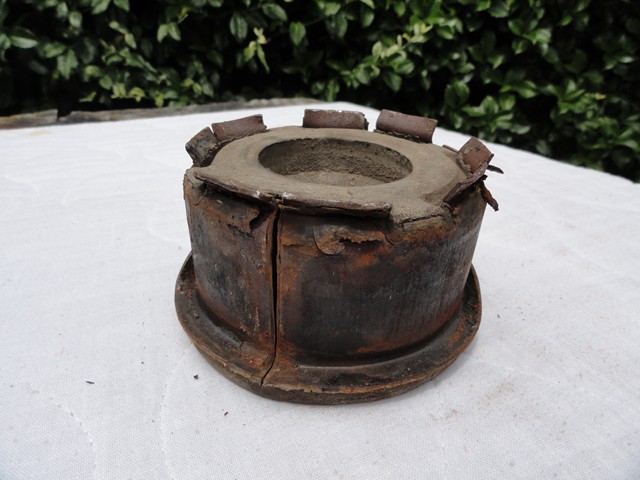
Even though I wasn't replacing the bushing on the 68's, I was still curious of what the bushing looked like, so I decided to remove it any way. After pushing up the retainer tabs I placed the end of the cross member in the hydraulic press and pushed the bushing out.
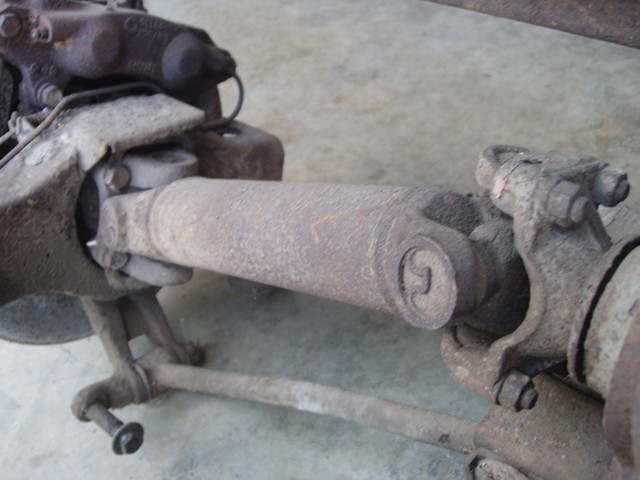
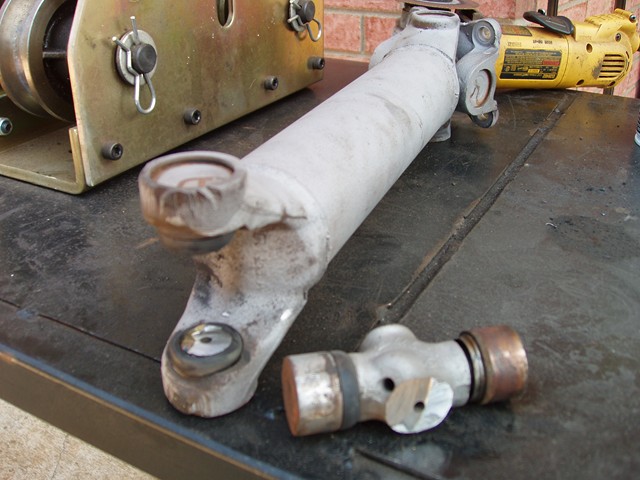
Now that the cross member is good, I began focusing on to the half shafts and removing the universal joints.
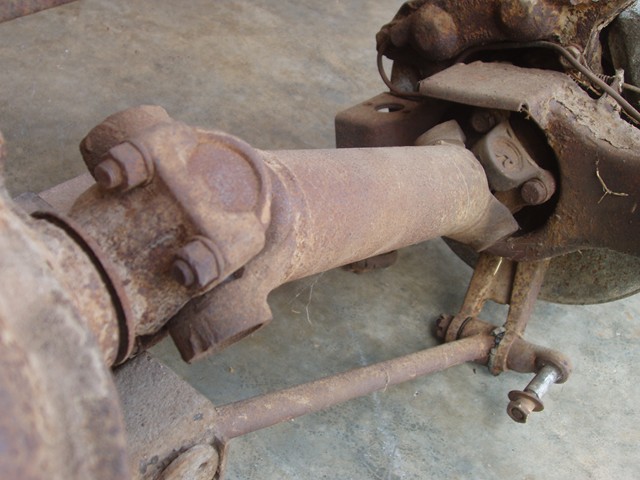
I first removed the pins, sandblasted both half shafts, and soaked both sides of the universal joint in PB Blaster to help loosen the joint before pressing them out. I also removed the universal joint retaining clips.
There are a few ways the universal joints can be removed. I could either press them out as a whole or cut out the center before pressing. I decided to cut them first so as to put as little pressure as possible on the half shaft ears to prevent them from bending inward.
Once the center part is removed, I simply used the hydraulic press to push the two ends out. Sorry I forgot to take a photo.
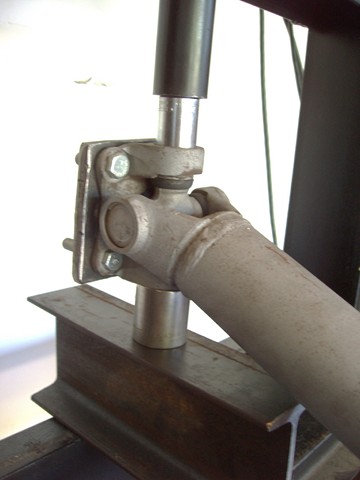
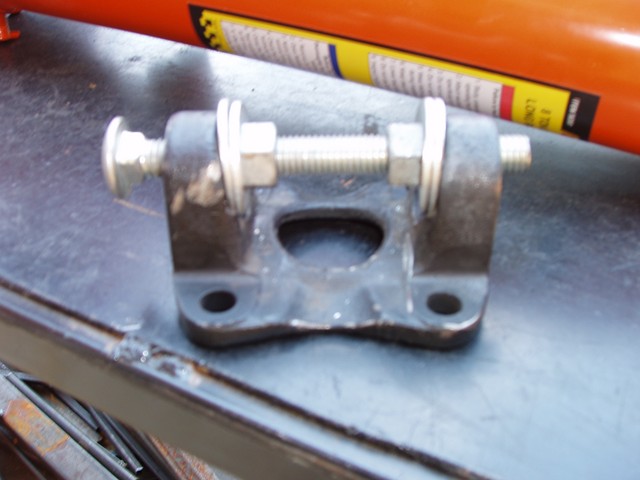
With both differential side half shafts universal joints removed, I moved on to the universal joints that connect to the trailing arms. The first thing I did was mark with a punch where the u-joint flange was in reference to the half shaft so that everything goes back together the same way it came apart.
Once everything was marked, it was time to make a new tool. To prevent the u-joint flange from bending inward, a steel plate should be attached to the back to strengthen it. I used a grinding wheel to make the circle groove in the center for clearance of the bottom of the flange.

With the support mounted to the bottom, I pressed the u-joint out. With the u-joint flange no longer connected, I removed the u-joint from the half shaft the same way as above.
To be perfectly honest, I did make a mistake the first time I did a universal joint replacement on my 1976 corvette. I did not think to support the flange when pressing it out which bent it very slightly. It was so faint that you could not even notice the bend. However, once I tried to push the new joint on, the slight bend prevented it from going on. Moral of the story: SUPPORT THE FLANGE.
Luckily, I had a few extra half shafts around that I could take the flange from as a replacement. Because I was bored though, I experimented to see if I could bend it back into position. In theory, this should work as long as it isn't cracked anywhere. Using a bolt, two nuts, and a few washers, the flange could be bent back as seen below by screwing the nuts out.
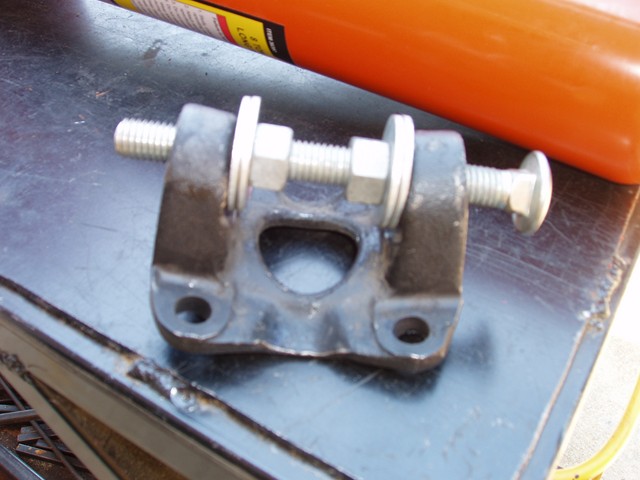
I don't recommend doing this. Even though it worked out fine, I would be hesitant to use the repaired flange on my own car. A lot of force can go through the flange which could cause it to break unexpectedly resulting to a hefty tow back bill. I would have to be certain that I did not compromise the metals integrity when I bent it back.
Now that everything is apart, I can start with the sand blasting and paint prep process.
Have a Question About This Article? Ask It Here!