Navigation
Random Favorite Product
Never Dull
Advertisers
1968 Corvette
Trailing Arm Rebuild
Part 3
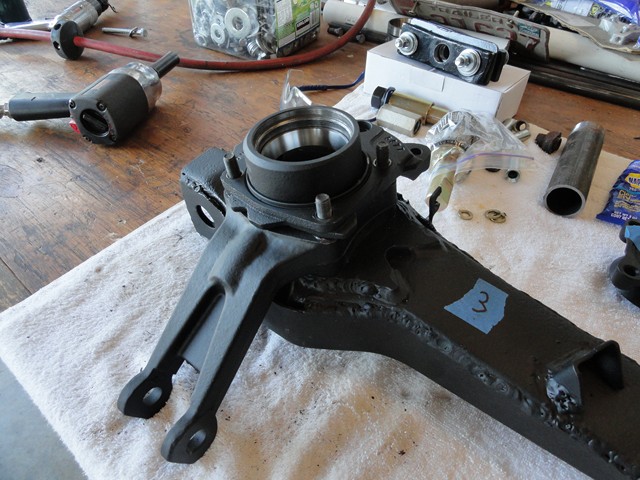
Once the bushings are set, I move on to installing the bearing housing and the caliper bracket.
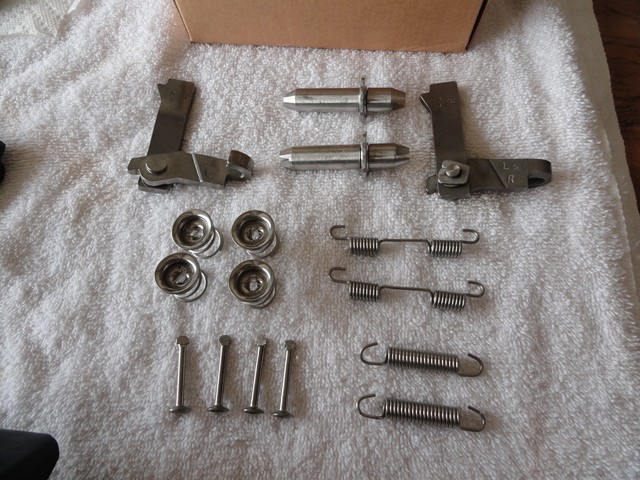
When buying the trailing arm kit, I decided to go with the kit that had Stainless steel (SS) hardware to prevent any rust from starting in the future. Before installing the backing plate, I applied RTV to the shoe hold down pins so that they couldn't move while installing the pads.
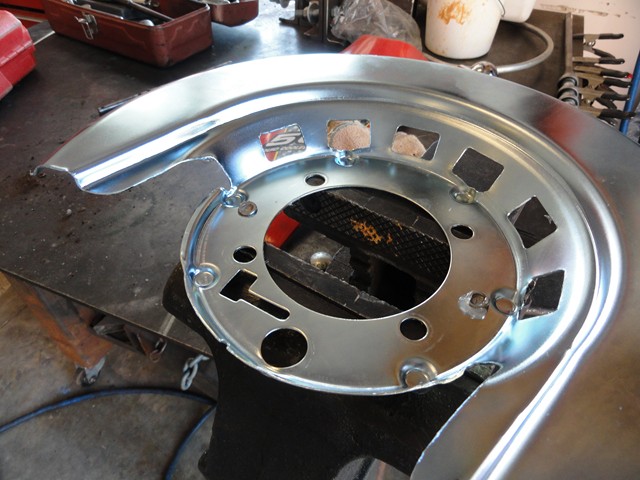
Once the RTV dried, I installed the backing plate, anchor, and guild plate and tightened everything down.
With everything tight, I worked my way to installing the parking brake. Before installing the actuator lever and star wheel adjuster, I added some grease to the pins and threads to prevent any future seize up.
With the actuator lever apart, I installed the side with the pin on it though the backing plate and reattached the other part.
Before installing the shoes, I added brake grease to the six contact surfaces to prevent wear.

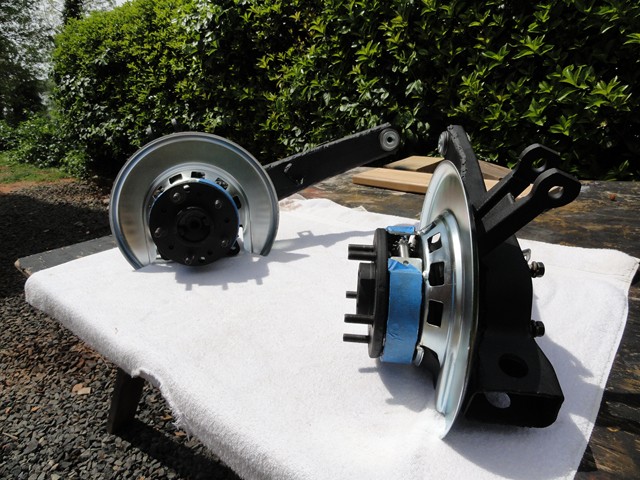
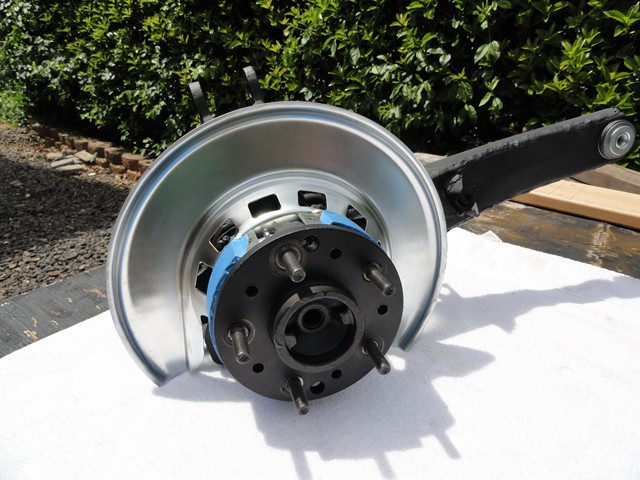
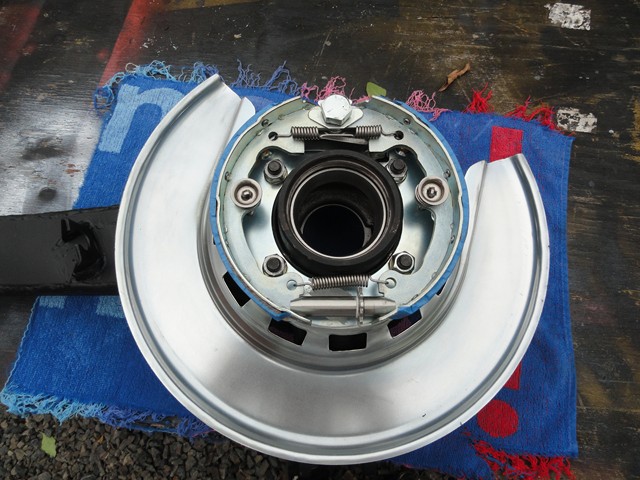
With everything set up, I can install the pads and all the hardware. I put masking tape on the pad surfaces to prevent oil or finger prints from affecting its performance later down the road. When installing the star wheel adjuster, the small detachable slotted end goes toward the rear on the driver side and toward the front on the passenger side. Below is the passenger trailing arm.
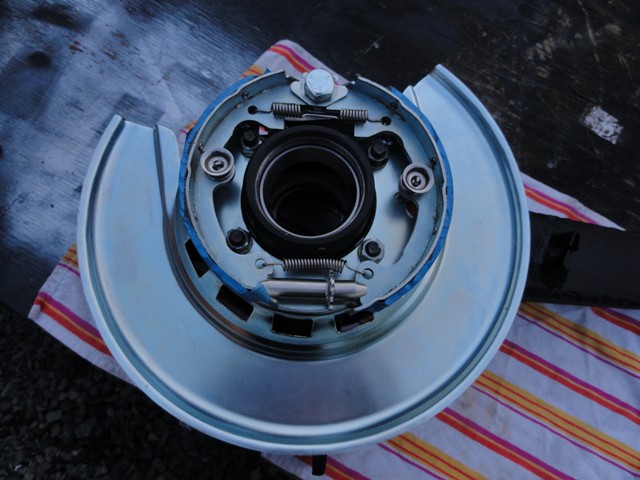
And below is driving trailing arm. Notice the direction of the star wheel adjuster in relevance with the front of the vehicle.
Once the parking brake is attached, I moved on to the bearings, spindle and lug nut installation. Before packing the bearings, I cleaned the bearing housing and races one last time in case any contaminants found their way inside. After I was sure the inside was clean, I packed the bearing with "Red and Tacky" grease. I have heard that there could be some variation in the end play with other brands of manufacture's grease. I am not sure if this is true or not but I thought I would play it safe and listen to the advise. I bought a
bearing packer
a while back when packing the eight bearings on my trailing. Well worth the money. It makes packing the bearing a breeze without too much of a mess and waste of grease in comparison to doing it by hand.
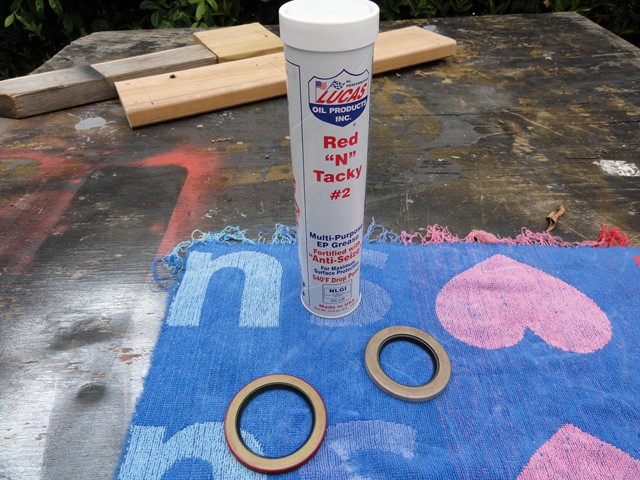
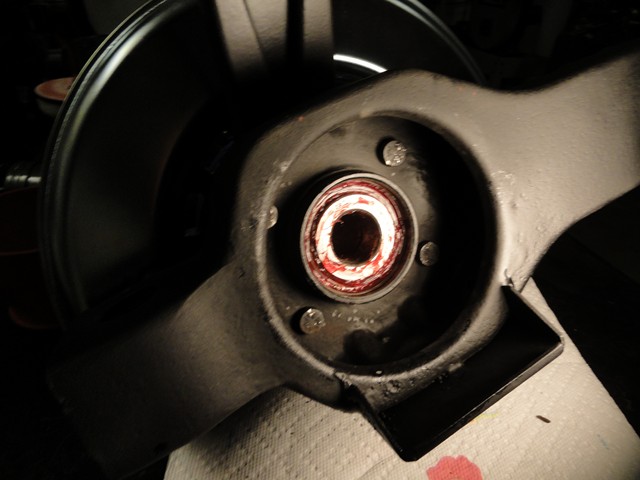
After I packed the bearing, I placed it in its race. Then I used a
race and seal tool to knock the seal flush but before doing so I applied RTV to the OD (outer diameter) and made sure there was grease on the rubber seal. If it is driven with a dry seal then there is the possibility of it tearing due to friction causing an instant leak.
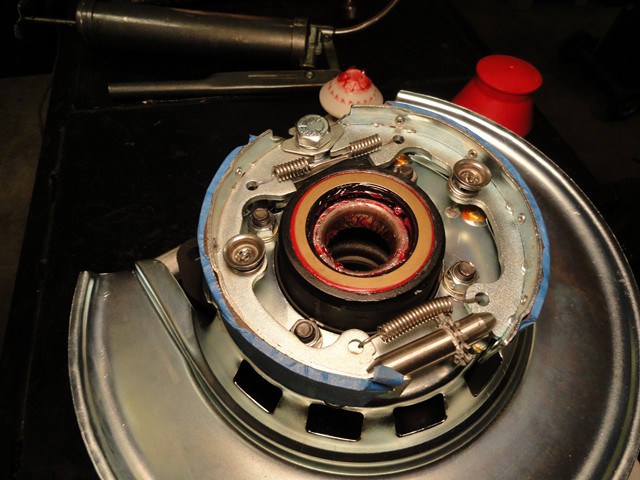
Next, I filled the bearing housing with grease, making sure to leave room for expansion, and installed the spacer and shim. With the spacer in place, I placed the inner bearing and seal in the housing the same way I did with the outer bearing and seal.
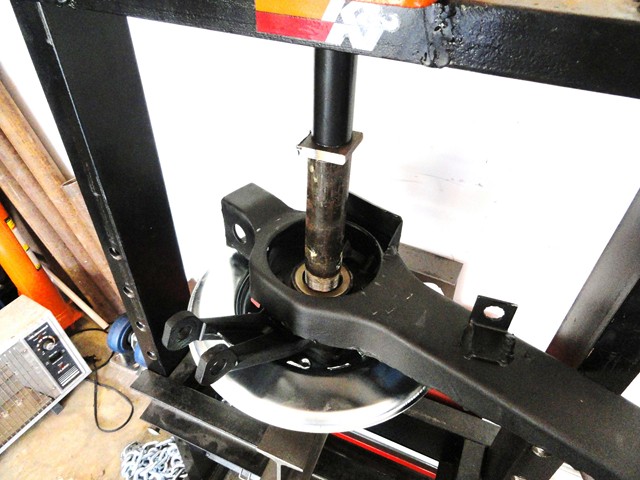
Now the fun part: installing the spindle. There is a tool call the Spindle installation tool you can use for this that screws on to the threads of the spindle and then uses a cylinder shaped piece of metal and a bolt to push against the spindle flange which in turn pulls the spindle into position. I figured that it would be much easier to use the hydraulic press to press the bearings on until they are fully seated. To do so I use scrap metal tubing that would press against the inner bearing without touching the spindle or seal. By applying pressure through the press, the bearings can be pressed onto the spindle.

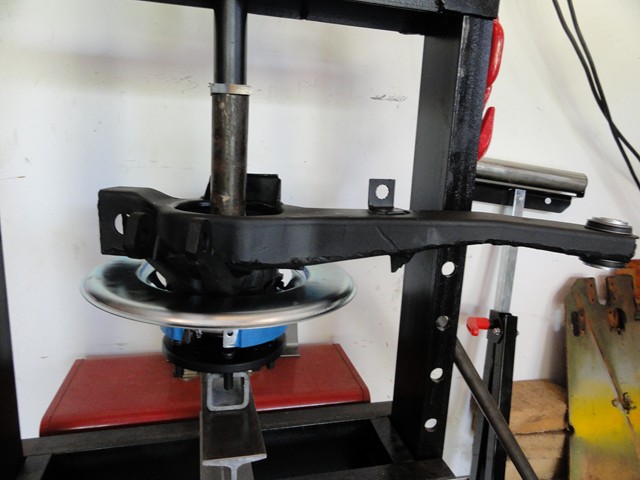
Disregard the threaded end. Like I said above, I am using scrap tubing so this just happened to be left over from a fire sprinkler job.
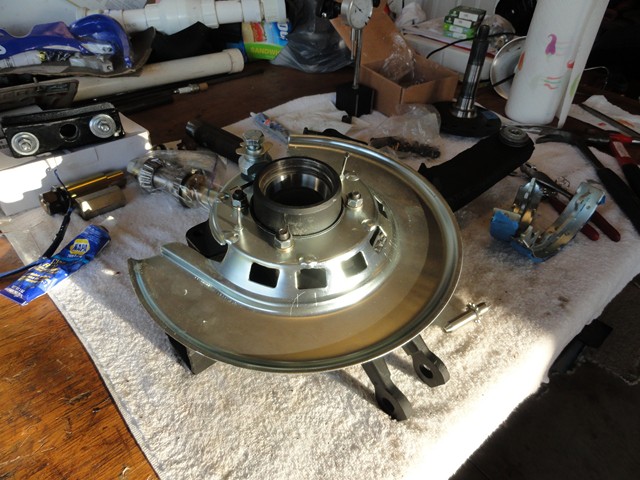
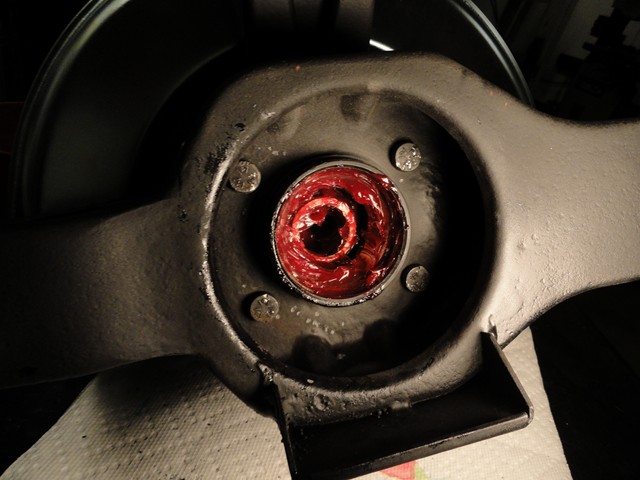
Next I installed the bearing dust shield and spindle flange. With the concave side of the washer facing down, I installed the nut and torqued it to 100 lbs. It is a pain to torque the nut down by yourself, so I tightened a lug nut on it and placed a breaker bar with the handle pressing against the table. With my right hand on the socket to hold down the trailing arm and my left hand pulling the torque wrench, I managed to reach the 100 lb click.
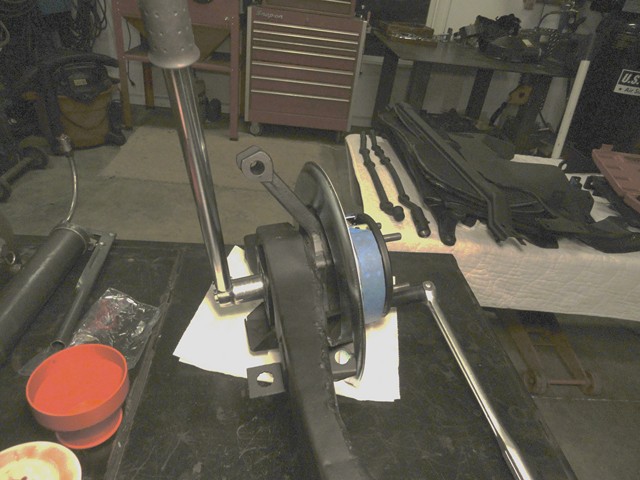
Before installing the cotter pin, I placed the dial indicator on the side to make sure the run out was still good. The spindle should have some drag to it but should definitely not be at the point of having to use two hands to move it. With the run out satisfactorily, I installed the cotter pin and the parking brake cable guild and just like that, you're done. The end result: two absolutely beautiful trailing arms with the peace of mind of knowing they were done right.