Navigation
Random Favorite Product
Fast Orange
A Must Have for Every Shop
Advertisers
1968 Corvette
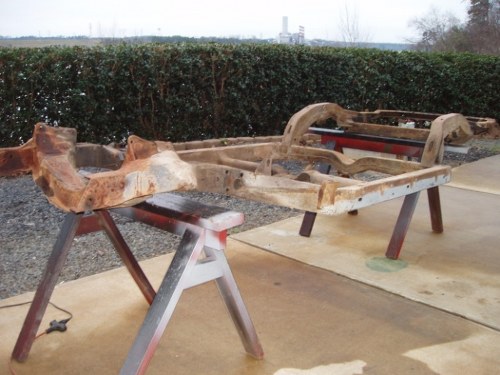
Front End Removal
Since the rear has been disassembled, the only thing left to remove is the front end. I started by removing the bar that holds the front bumper. It is only held by the four bolts shown below.
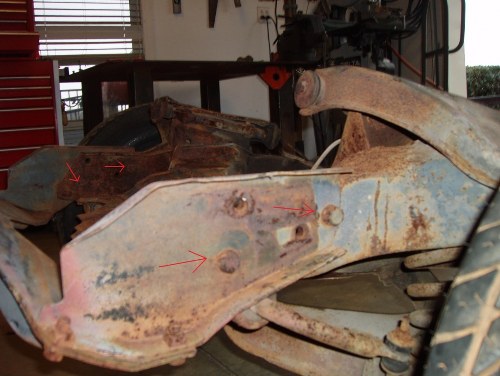
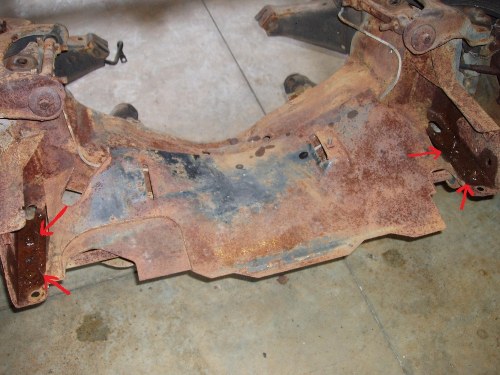
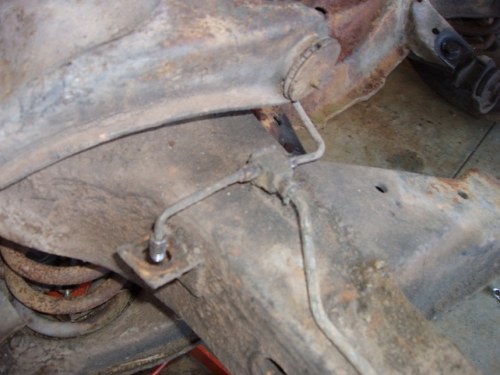
Next, I removed the metal plate in the middle. It is held by the four bolts shown below. Once it is removed, the only thing holding the stabilizer bar to the frame is two bolts; one on each lower control arm.

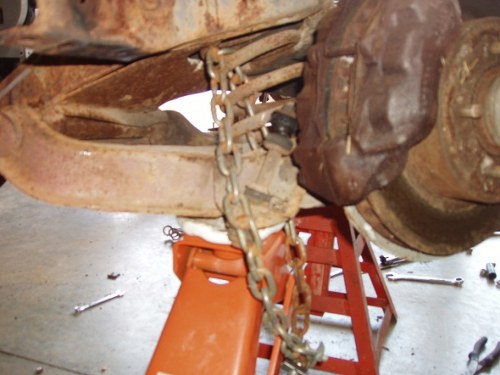
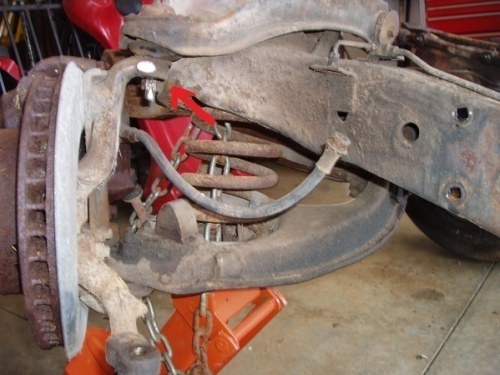
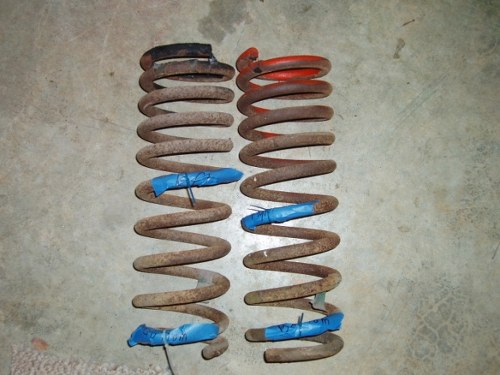
Now the fun part: removing the coil springs without the weight of the body. First I jacked up one side of the chassis and ran a chain through the center of the spring attaching it to the lower arm for safety in case the spring goes airborne. Note: The spring will expand so there has to be a sufficient amount of slack in the chain to allow the spring to spread out fully and not get caught up on the chain. The picture below illustrates the chain is wrapped high on the spring which requires more slack in the chain. So when I disassembled the other side, I wrapped the chain toward the bottom. This way there isnt as much slack necessary for the spring to expand without catching on the chain.
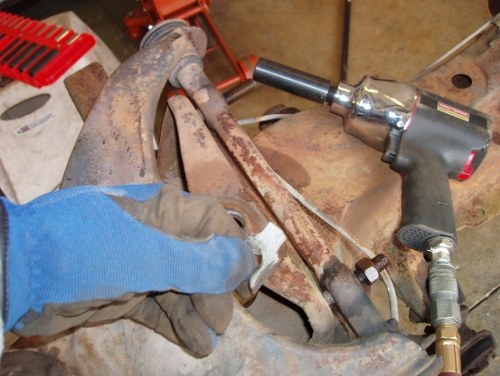
Next, I disconnected the brake line to the caliper using a line wrench. Heres a fun fact: You see the flat part on top of the spindles? (the area that is cleaned off in the picture with the arrow pointing at it). This isnt for clearance or looks but made to be slammed with a hammer.
 The spindle should be pressed fairly tight on the upper ball joint so I was able to remove the bolt without everything flying apart. To break everything free, I hit the flat part of the spindle with a hammer from a safe distance and by the third stroke it popped free.
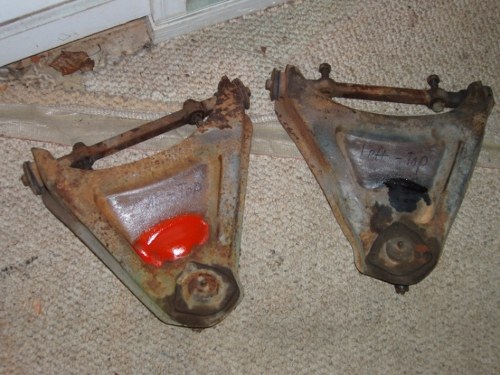
Once everything was loose I started taking off the upper arms. Since the ball joint bolt had been removed when pulling the spring off, there were only the two bolts on the top left to be removed. I made note of the location of each shim to hopefully keep the car more inline when I put it all back together until I get it to the alignment shop just like the trailing arm shims.
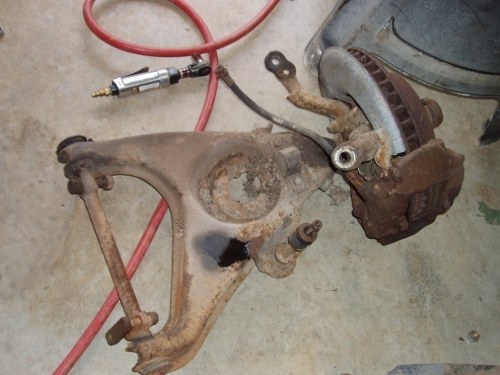
The only thing left on the frame was the lower control arm with the spindle assembly attached. Removing the whole unit only consisted of removing the three bolts on the control arms shaft. Once detached, I spent about 30 minutes taking off brake lines and any remaining brackets and ground wires. Now its ready to be blasted and come back to life. Unbelievably, a two car garage fills up extremely fast with only a half of a car in it so make sure that you have a well designated spot to store all the parts taken off until it is time for them to be restored and reassembled.